- Select the appropriate Injection Molding material
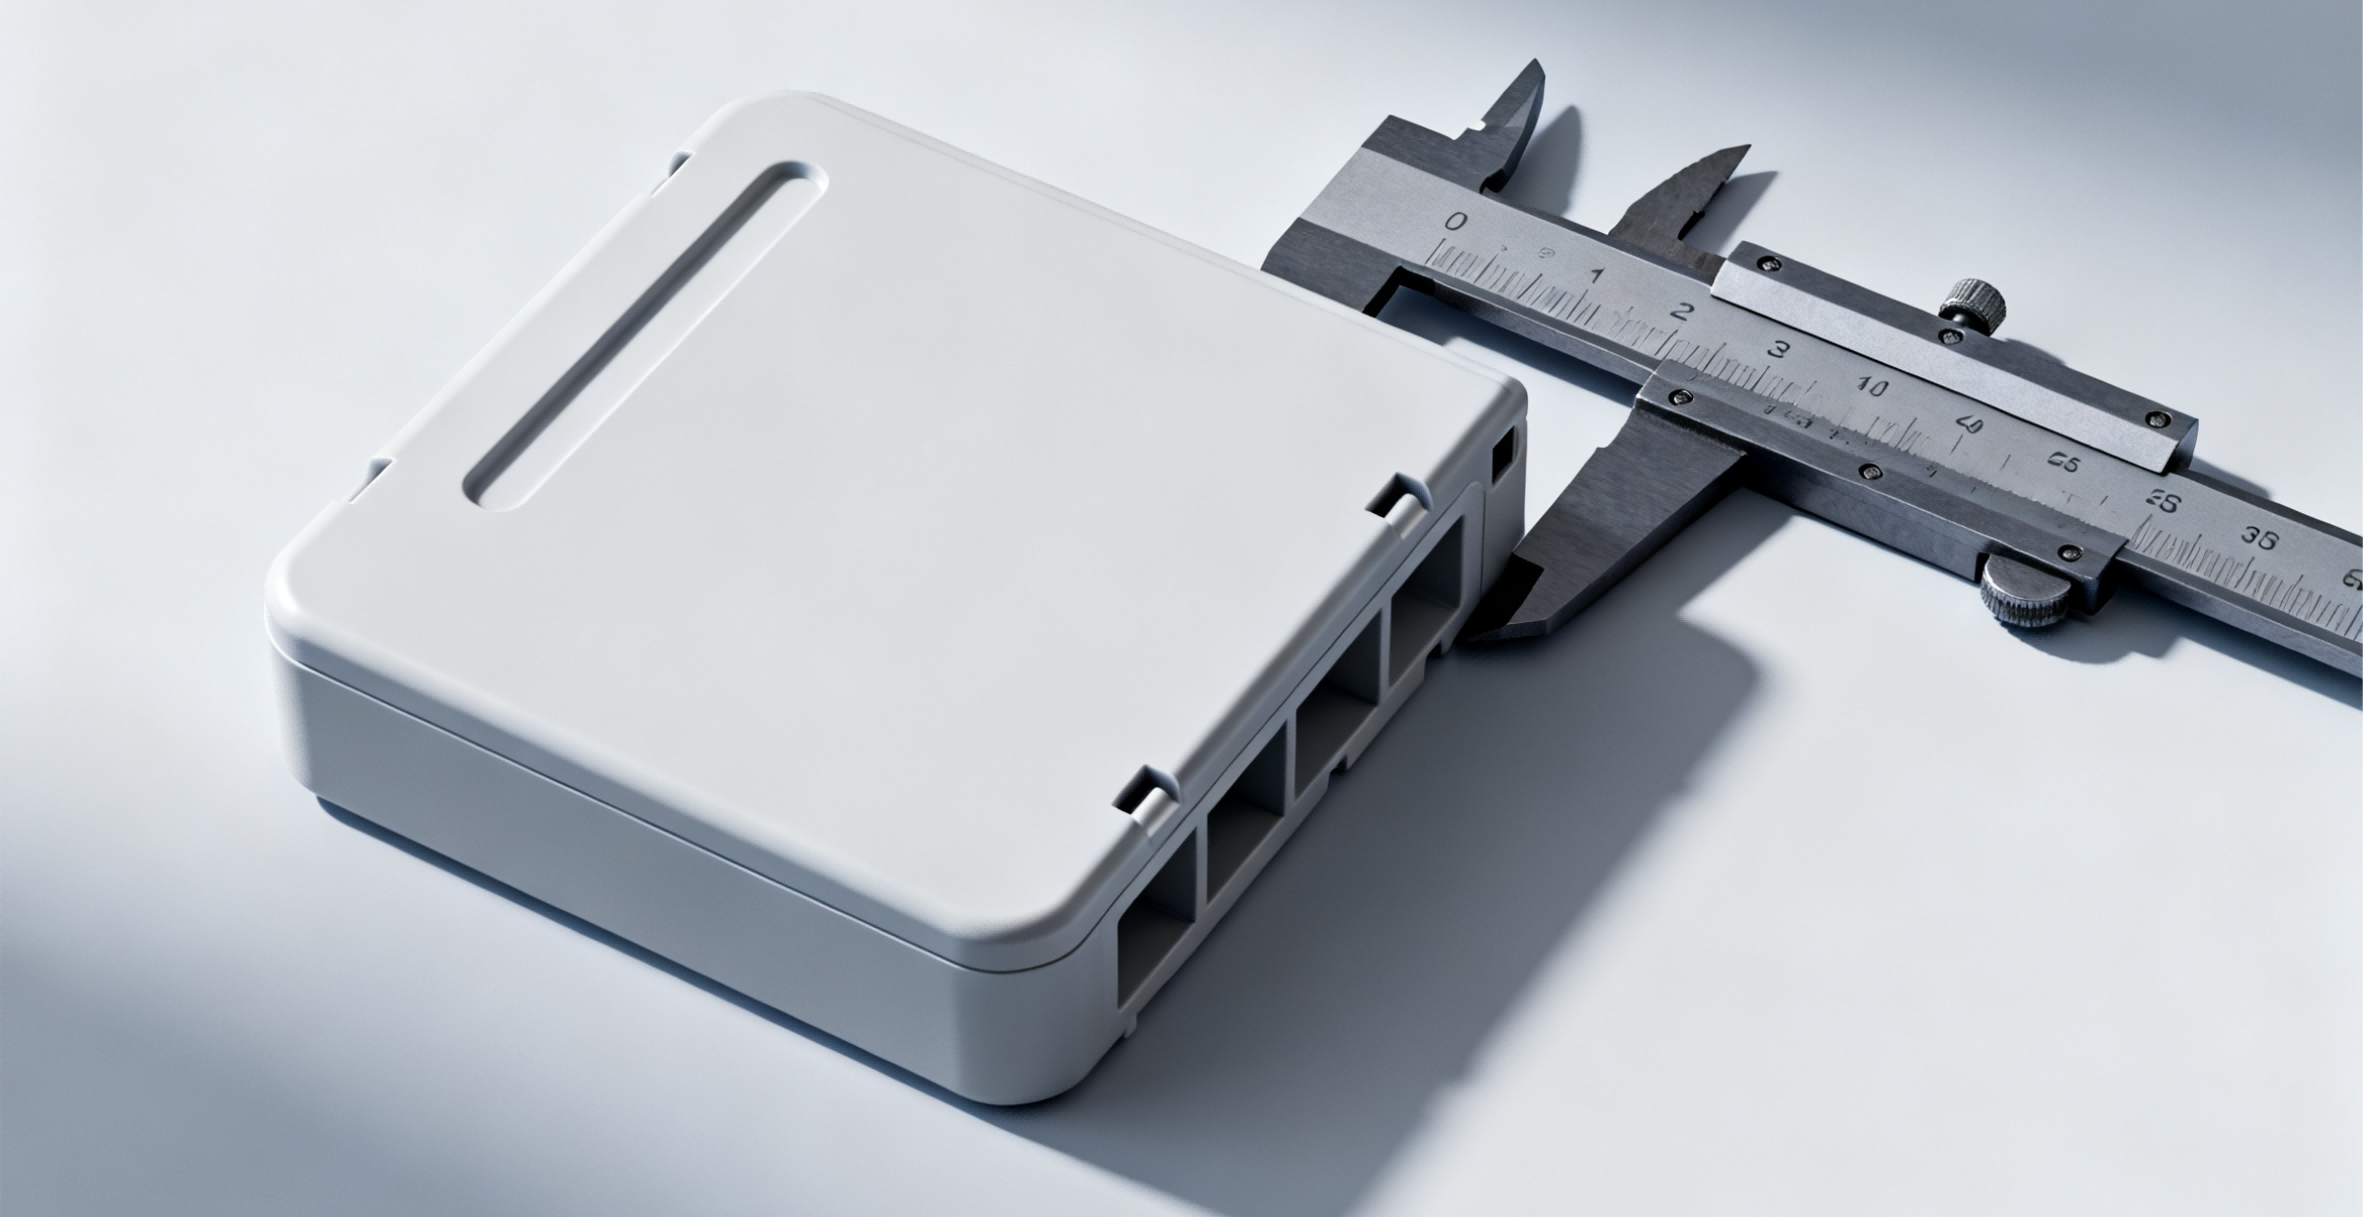
- Selecting the Right Wall Thickness
- Use Radii Strategically in Injection Molding
- Add Draft Angles for Easier Part Ejection
- Core-Out Design to Reduce Costs
- Retain or Eliminate Undercuts?
- Mold Opening Direction and Parting Line Considerations
- Choosing the Right Partner
Therefore, in the development of injection molded parts, design is not only a reflection of appearance and functionality but also a core factor in ensuring smooth manufacturing, lowering costs, and enhancing overall product quality. Understanding and applying these design-first principles is a key step that every company and engineer aiming to produce high-quality injection molded components must prioritize.

Select the appropriate Injection Molding material
| Material | Shrinkage | Strength | Flexural Modulus |
|---|---|---|---|
| ABS | 0.4-0.7% | 47MPa | 2620MPa |
| POM(Acetal) | 2.00% | 64MPa | 2700MPa |
| PMMA(Acrylic) | 0.2-0.6% | 78MPa | 3300MPa |
| Nylon | 1.4-1.6% | 83MPa | 2900MPa |
| PC(Polycarbonate) | 0.5-0.7% | 62MPa | 2240MPa |
| PET(Polyester) | 1.5~2.5% | 50MPa | 2100MPa |
| PP(Polypropylene) | 1.0-1.5% | 30MPa | 1100MP |
| PEI | 0.80% | 105MPa | 3310MPa |
| Note: The information provided is for reference only. Actual values may vary depending on the specific material grade, manufacturer, and application. | |||
Selecting the Right Wall Thickness
The optimal wall thickness depends on several aspects: whether the part is structural, whether it may become brittle, and—most importantly—the characteristics of the selected material.
Fortunately, designers don’t need to rely solely on trial and error. For most common injection molding materials, well-established recommended wall thickness ranges are available and can serve as a valuable reference during the design process.
| Material | RECOMMENDED WALL THICKNESS |
|---|---|
| ABS | 0.045 – 0.140 in/1.14-3.56 mm |
| POM(Acetal) | 0.030 – 0.120 in/0.76 – 3.05 mm |
| PMMA(Acrylic) | 0.025 – 0.500 in/0.64 – 12.70 mm |
| PA(Nylon) | 0.030 – 0.115 in/0.76 – 2.92 mm |
| PC(Polycarbonate) | 0.040 – 0.150 in/1.02 – 3.81 mm |
| PE(Polyethylene) | 0.030 – 0.200 in/ 0.76 – 5.08 mm |
| PPS(Polypropylene Sulfide) | 0.020 – 0.180 in/ 0.51 – 4.57 mm |
| PP(Polypropylene) | 0.025 – 0.150 in/ 0.64 – 3.81 mm |
| PS(Polystyrene) | 0.035 – 0.150 in/0.89 – 3.81 mm |
| PU(Polyurethane) | 0.080 – 0.750 in/2.03 – 19.05 mm |
| PET(Polyester) | 0.025 – 0.125 in/ 0.64 – 3.18 mm |
| Liquid Crystal Polymer | 0.030 – 0.120 in/0.76 – 3.05 mm |
| Long-fiber reinforced plastics | 0.075 – 1.000 in/1.91 – 25.40 mm |
Use Radii Strategically in Injection Molding
-
Improve Material Flow — Fillets allow molten material to flow more smoothly through the mold, enhancing molding stability.
-
Increase Part Strength — Reducing sharp corners lowers stress concentrations, decreasing the risk of breakage.
Add Draft Angles for Easier Part Ejection
-
Facilitate Ejection — Inclined surfaces make it easier to remove cooled parts from the mold.
-
Reduce Defects — Draft angles help minimize part deformation and other molding issues.
Core-Out Design to Reduce Costs
Hollowing parts reduces material usage and part weight, yet properly designed walls and ribs can ensure strength comparable to solid components.
A common guideline for rib design is that rib thickness should be 40%–60% of the part’s nominal wall thickness, roughly half the thickness of the solid section.
In addition to saving material and reducing weight, core-out designs help minimize sink marks and stress concentrations, resulting in higher-quality injection-molded parts.
Retain or Eliminate Undercuts?
Undercuts are typical “difficult-to-eject features.” Due to their shape (e.g., internal grooves, protrusions) or position, parts with undercuts cannot be directly ejected from the mold. Additional side-action mechanisms such as slides, lifters, or core pins are required. This increases mold complexity and adds costs in two ways: extended development time (to validate the reliability of side actions) and higher manufacturing expenses (due to multi-component machining and tighter assembly tolerances).
-
Simplify the structure — Adjust feature placement or adopt alternative designs to eliminate undercuts, reducing molding difficulty and overall cost.
-
Retain undercuts — Preserve necessary features and optimize mold design with appropriate ejection mechanisms, balancing performance requirements with tooling feasibility and cost.
Mold Opening Direction and Parting Line Considerations
-
Minimize Undercuts and Complex Mechanisms — Align key features with the mold opening direction to avoid undercuts and reduce reliance on side actions such as slides or lifters.
-
Optimize Aesthetics and Function — Position the parting line away from critical cosmetic or tactile surfaces to minimize visible seams and flash. When necessary, adjust the part geometry to relocate the parting line to a less noticeable area.
-
Ensure Structural Simplicity — Follow the natural contours of the part when defining the parting line. Avoid overly complex or irregular parting paths to simplify mold manufacturing and improve alignment precision.
-
Support Production and Assembly — Consider downstream requirements such as assembly and functional performance when planning the mold opening direction and parting line placement.


